


📣 This is the first article in my new "Getting Started with Gatsby" series. This post will provide a gentle introduction to Gatsby. By the end of this series, you will learn how to deploy a Gatsby site using Netlify.
What is Gatsby?
Gatsby is an open sourced, static site generator (SSG) that can be used to build websites and applications. Unlike content management systems (CMS), static site generators generate HTML, CSS, JS, and other static assets during a build process.
A static site generator is a software application that creates HTML pages from templates or components and a given content source...Static site generators are an alternative to database-driven content management systems, such as WordPress and Drupal.
Why Gatsby?
These are some benefits of using Gatsby:
- Improves developer experience - Allows you to program in React and utilize the modularity of components.
- Speed - Because you are only loading up HTML, CSS, and JS at the end of the day, and don't have to deal with dynamically adding content like you would with a CMS, sites built with Gatsby are typically faster.
- Improved security - the web server only has to serve up the static files that are generated during the build process so there is no risk from dynamically fetching content from a database.
- Ability to leverage version control for all aspects of your project
- Built-in routing (more details on this in the next article)
Gatsby CLI
The Gatsby CLI lets you quickly create new Gatsby-powered sites and run commands for developing Gatsby sites. You can run the Gatsby CLI in one of two ways:
- Install Gatsby globally via npm:
npm install -g gatsby-cli - Use npx so you don't have to install Gatsby globally and prefix the gatsby commands with
npx. (Example:npx gatsby develop.)
| CLI Command | Outcome | |
gatsby develop | Starts the development server. Watches files, rebuilds, and hot reloads if something changes. | |
gatsby build | Compiles the application and makes it ready for deployment. Static files are generated and bundled in the /public directory. | |
gatsby serve | Serve the production build of your site for testing. Run this after building your site to test what your site will look and act like in Production. | |
gatsby clean | Wipe the local gatsby environment including built assets and cache. This is useful as a last resort when your local project seems to have issues or content does not seem to be refreshing. | |
gatsby new | Ex: gatsby new <site-name> <starter-url>. This command creates a new Gatsby site based on the starter you provide it, or the gatsby-starter-default if you omit the starter-url. |
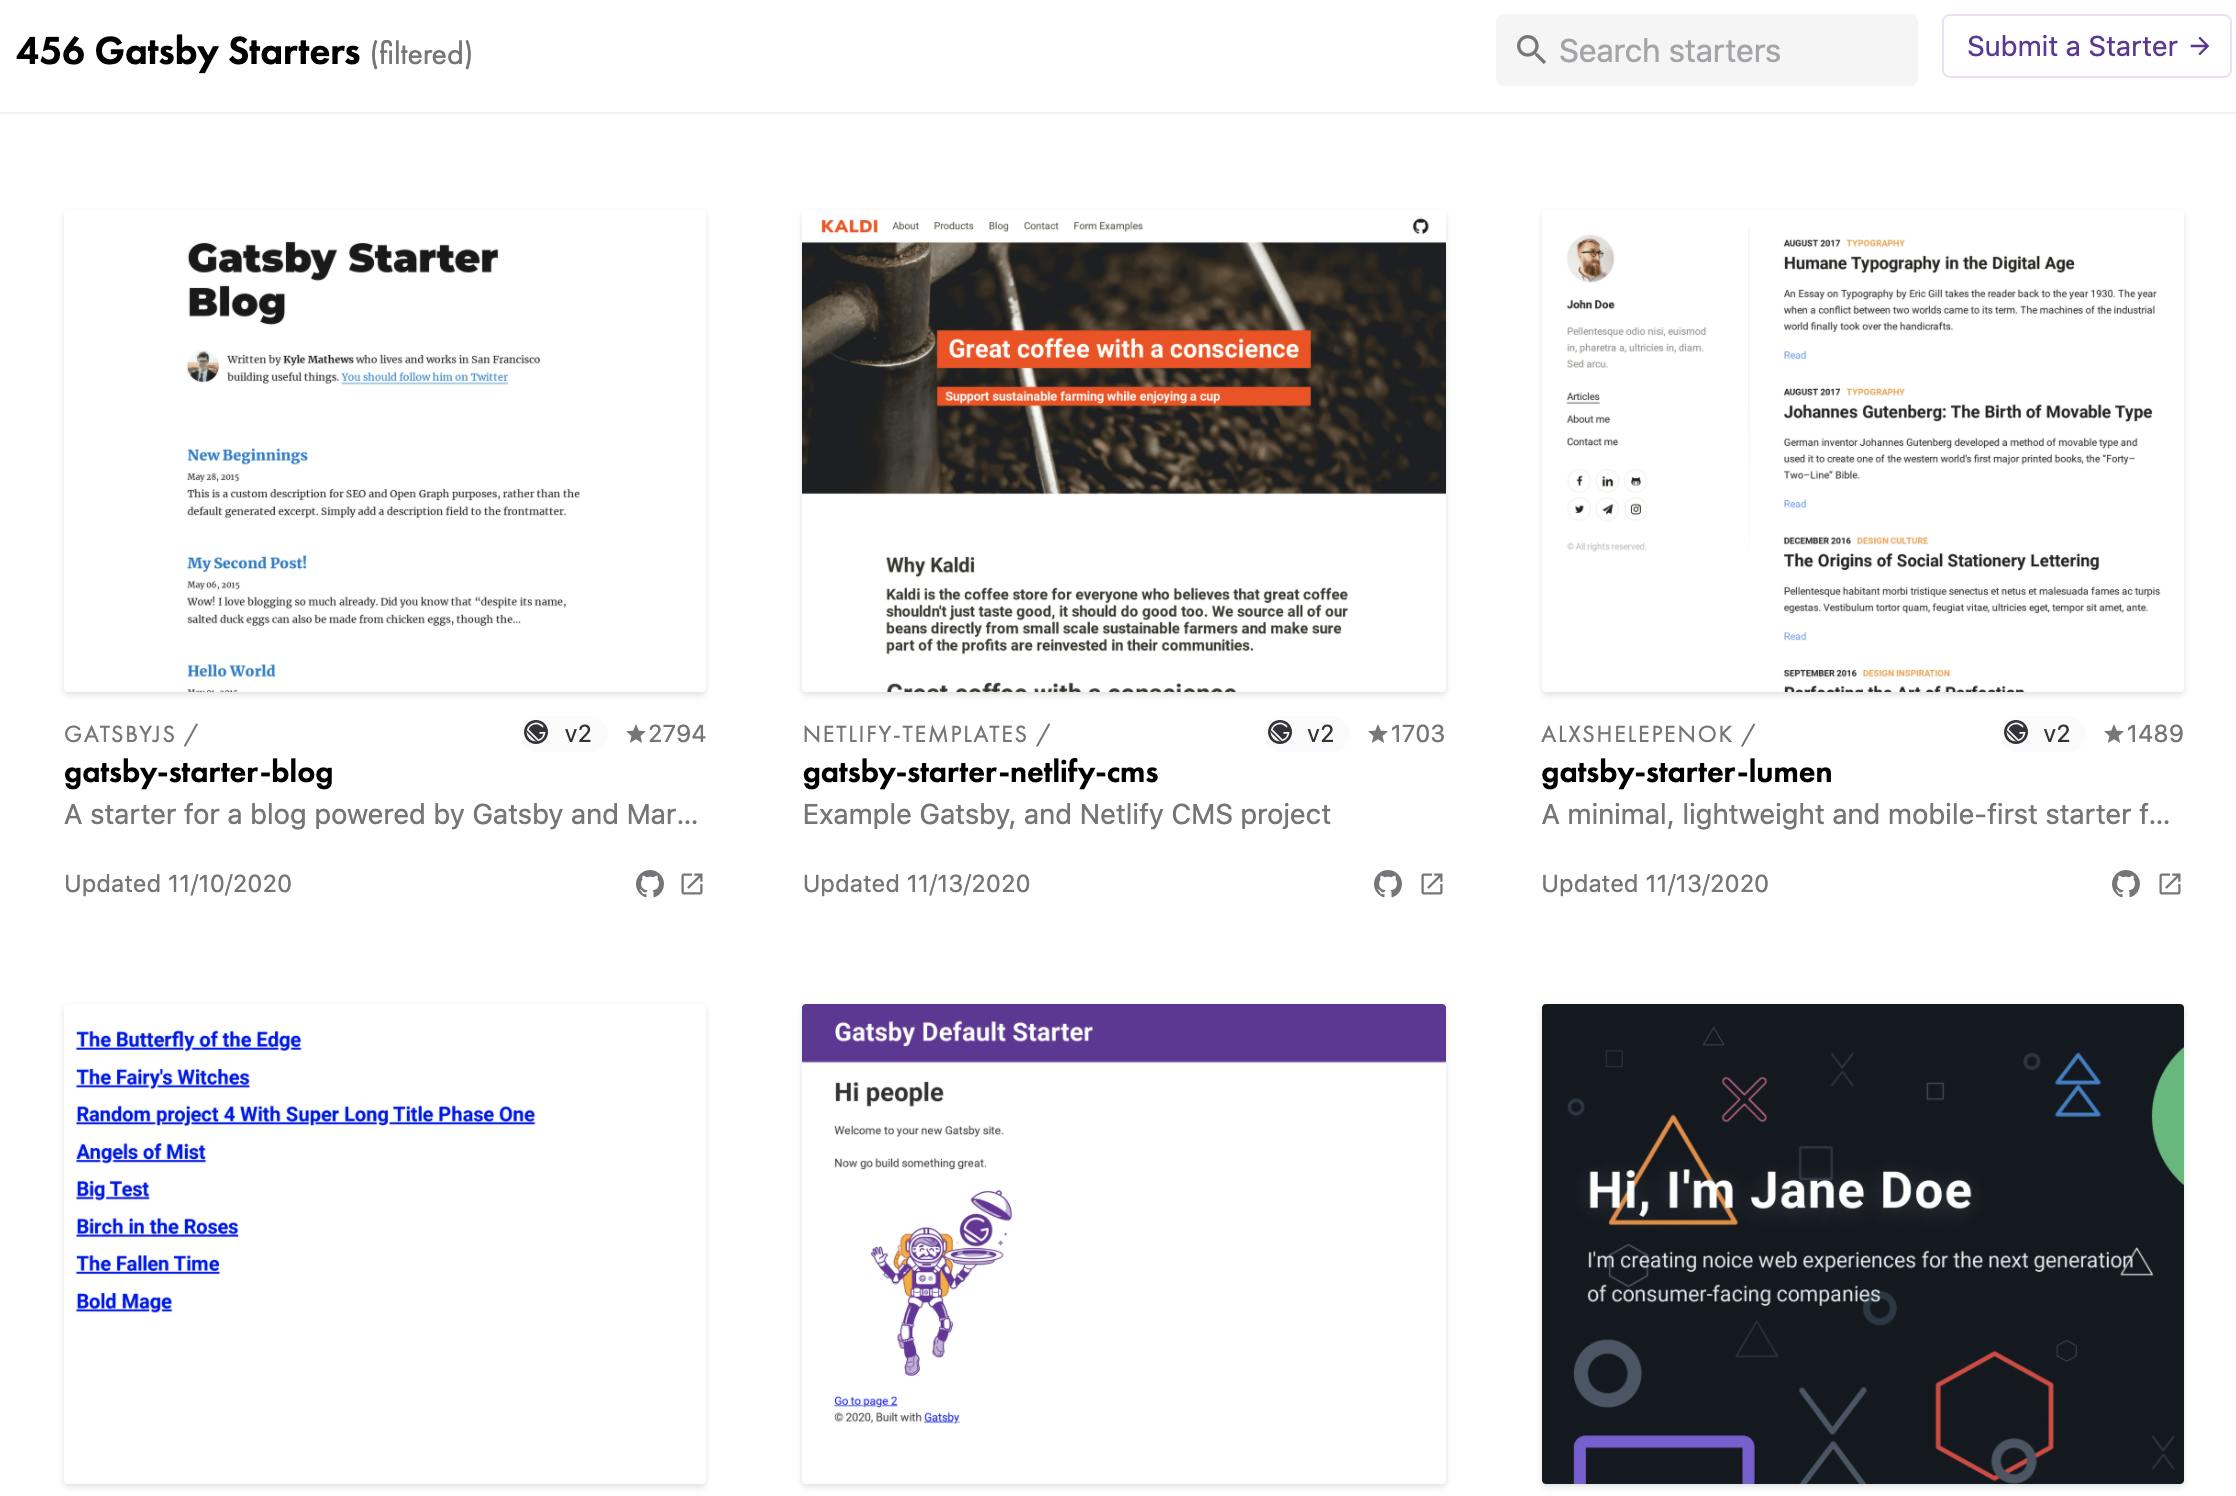
Starters
A starter is simply a boilerplate project that you can leverage to get you up and running quicker with Gatsby. There are tons of starters to choose from that cover a variety of scenarios.
A Basic Site
Now that you know what starters are, let's go through some steps to show you how to run a starter project on your local environment.
- Open up the terminal and
cdinto the folder you want your project files to be placed. Run
gatsby new <site-name> <starter-url>to create a new site from a starter like so:- Ex.
gatsby new my-gatsby-project https://github.com/gatsbyjs/gatsby-starter-blog- Based on this starter
- Ex.
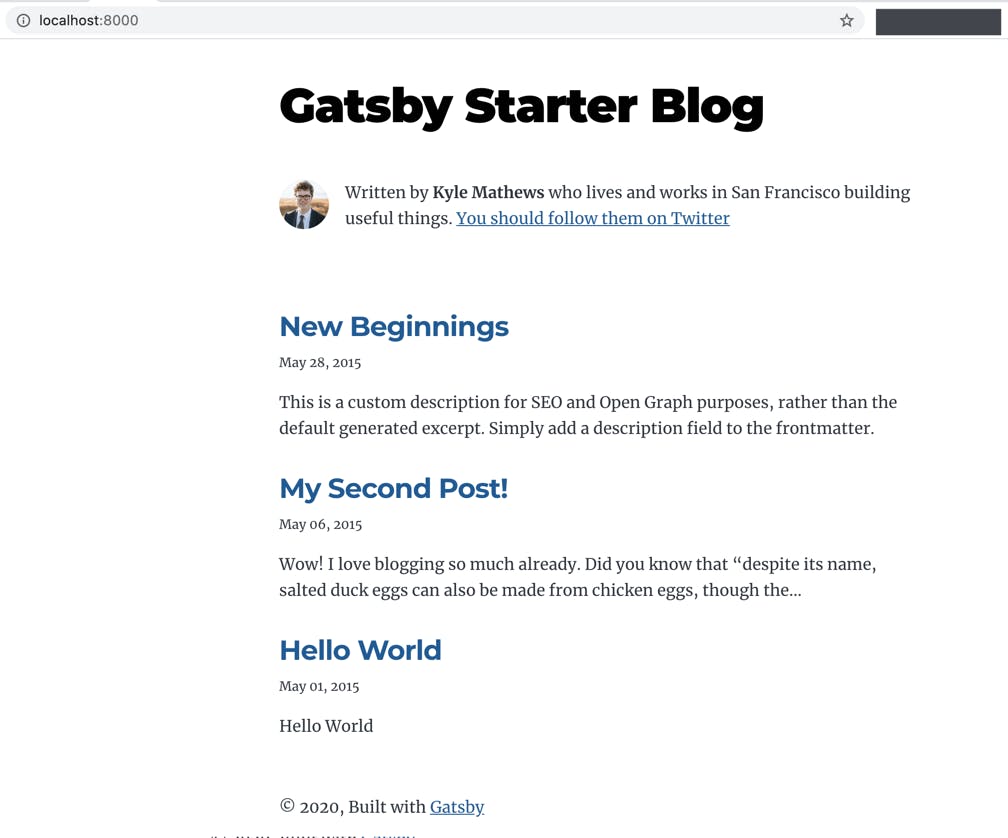
cdinto the new project directory and rungatsby developto start the development server.Navigate to localhost:8000 in your browser and you should now see the starter you selected being displayed.
El Fin 👋🏽
In this lesson, we learned what Gatsby is, the benefits of using it, and how to use a starter to set up a site on a local environment.
For the second article in the "Getting Started with Gatsby" series, I will cover how to make modifications to a starter site and provide a ton of examples that will equip you to customize your site to suit your needs.
Thanks for reading and stay tuned for the next one!